There is something to be said about renewal, the chance to start again. Whether the previous attempts were amazing, yielding fruit and harvest, or a dismal failure. Springtime is always a new beginning, starting over and planning life.

This year we have been working on some new grow boxes. We have to move our back fence back several feet, and so we will be losing about 8 feet of our garden. We have a ton of grass in the back, and so we decided to build some grow boxes that can be used for more vegetables. I am so excited! It is a ton of work, mind you, but so rewarding.
To make the grow boxes we bought 8’x 10″ green treated wood from Home Depot. For each grow box we bought three panels of wood. Two for the sides, and one for the header and footer. We cut the third piece in half. With assembly, we made a rectangle and secured it with screws. We measured out the place on our lawn where we wanted the grow boxes to be, and put small stakes in two corners. This actually proved to be quite useful because later on we ended up having to move the boxes to install the sprinkling system, and didn’t have to remeasure the location.

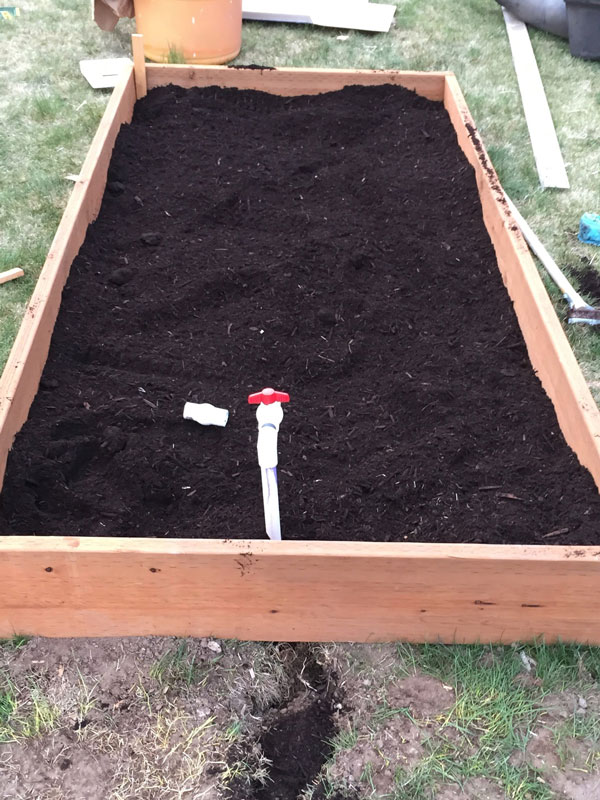
The sprinkling system was tapped into our existing plumbing. Jonny dug a trench, the length of the grow boxes, we installed the straight PVC pipe, and and brought in a line to each grow box, that will then have funny pipe and several 360 degree sprays. The funny pipe is the perfect system to help control how much, or how little you are watering to each plant. You can do a drip head for just a little water, or traditional sprayers, that are little and precise. Unlike full PVC systems, a funny pipe system allows you to really customize your water for the plants, and location. It was fun to build the sprinkling system. Jonny, my husband, is a sprinkling pro. Every year he is re designing something, or fixing sprinkler lines that have broken. This year he taught me all about the primer, the glue, the elbows and fixtures. After the piping was all installed we had to wait 24 hours to run water through. It was a success!

Now we have the grow boxes made, and the sparkling system in. The next step is to do something with all the grass underneath the boxes. We had read online one family used cardboard boxes as a barrier to the grass. The cardboard (and grass) will ultimately turn into compost, because there is no way that grass could thrive under a layer of thick cardboard and 8-10 inches of soil. We tried it, and will see if our method actually works. I had been saving up my boxes from Costco and Sam’s Cub for months. I flattened all the boxes and layered them on top of each other.

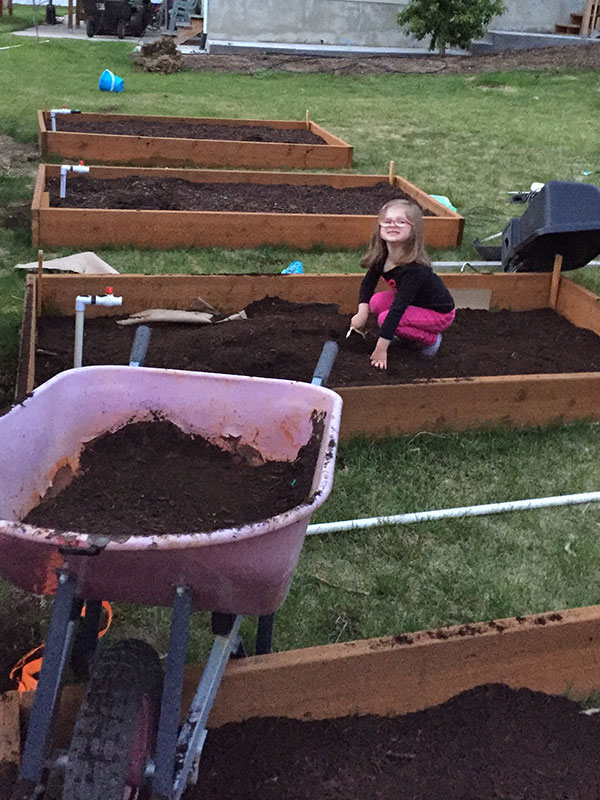
Lastly, we went out to our local dump and got small chipped, screened compost. For only $16 a square yard, we are able to fill all four grow boxes for only $48!! Yippee!! This compost is amazing, it is rich and dark. Because it is screened we don’t bring home rougue and new weeds that we have to deal with. When we unload it, it is still warm and alive. I love pretty black dirt. It just feels new and fresh. With lots of hauling, unloading, raking we now have our grow boxes filled with soil!! I am so excited.

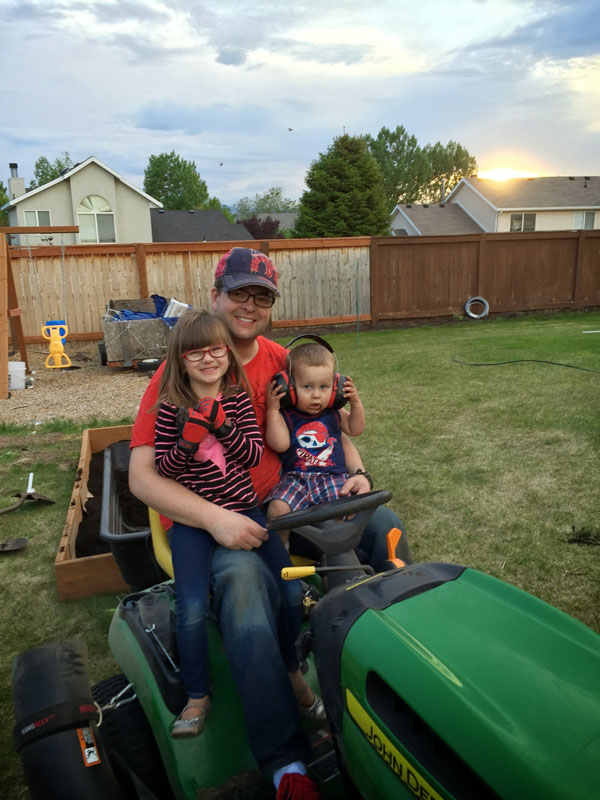
The best part of gardening is enjoying time with my family and watching them learn to love dirt, and the law of the harvest! Here are a couple pictures of my cute little baby and my daughter helping do their part to make a mess…. I mean learn to garden.

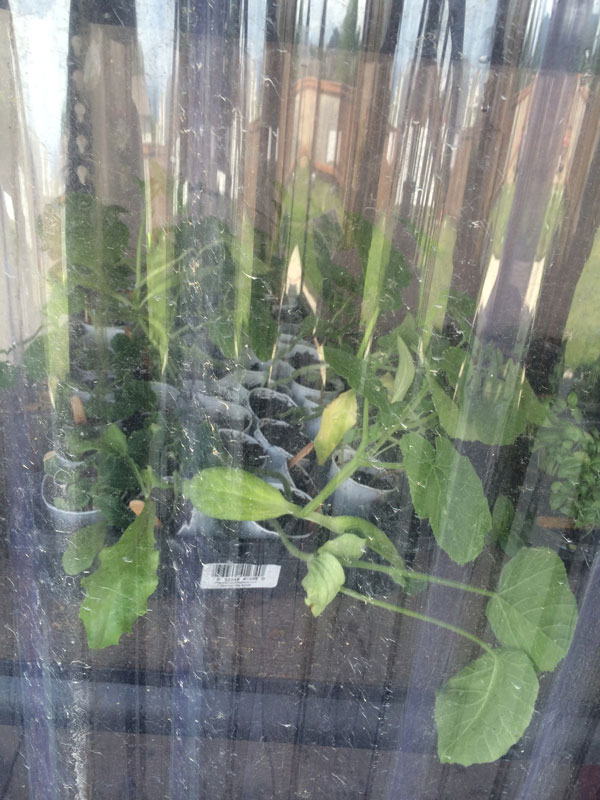
The next step will be to plant our seedings! I took them out to the greenhouse at the beginning of this week to harden them for the colder outside temperatures. They are thriving!! Sending those little, tender plants can be really harsh and traumatic without some time to get used to it. A couple years ago my husband made a green house out of a gorilla rack, using some corrugated plastic, hinges and a hefty magnet. I can’t wait to put the plants in the ground and watch them grow!!

